Your cart is currently empty!
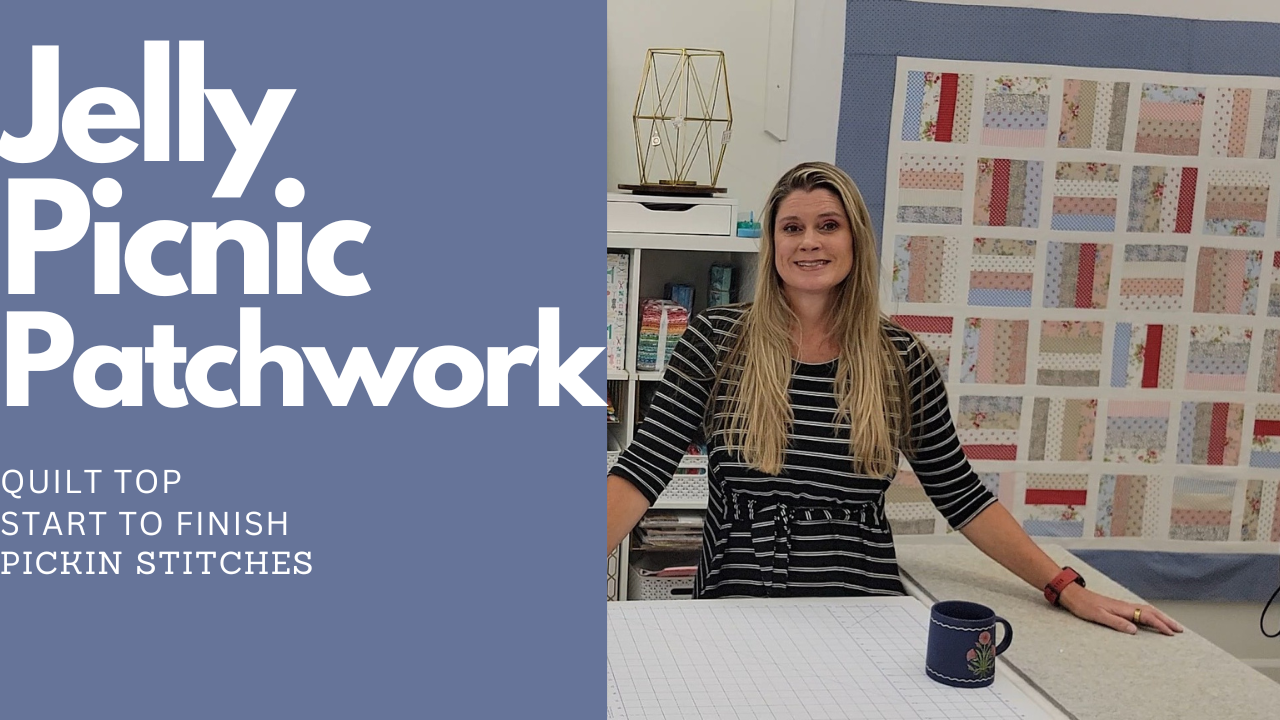
Jelly Picnic Patchwork Quilt

Hey everyone! Welcome back to my sewing room. I’m here to guide you through a fun and easy project: the Jelly Roll Picnic Patchwork Quilt. This tutorial is perfect for beginners and will take you step-by-step through the entire process, including all the measurements and instructions you need to create your own beautiful quilt. Grab your jelly rolls, and let’s get started on this delightful picnic patchwork quilt together! Finished Quilt Size will be 70×70 Sew all seams using a scant 1/4″ seam allowance. Fabric Requirements 1 Jelly Roll (or 42- 2.5″ x 42″ strips) 1.5 yards of sashing fabric (white) 1.5 yards of border fabric(blue in mine) 5/8 yard of binding fabric 4 yards of backing/batting Prepare fabric- starch if you choose to. Separate into groups of four strips and sew together along the long sides. Cut each strip set into (5) 8-1/4″ x 8-1/4″ squares. Make 40. Sashing: Cut (20) 2 x WOF strips. Cut (30) 2 x 8-1/4 strips. Sew the remaining 2″ strips end to end. Borders: Cut (8) 6-1/2 x WOF strips. Sew 2 strips end to end for each side.
Happy Quilting! Disclosure: some of my posts contain affiliate links. If you purchase something through one of those links I may receive a small commission, so thank you for supporting Pickin Stitches when you shop! All of the opinions are my own and I only suggest products that I actually use.
Other tools I use
Seam Ripper https://amzn.to/3zi7VTy
Rotary Cutter https://amzn.to/3VMeBSS
Creative Grids Ruler https://amzn.to/3KOWKnQ
Juki Sewing Machine https://amzn.to/3VNjMC6
Aurifil Treadh 2021 https://amzn.to/3Rw0Fdd
Oliso Iron https://amzn.to/3XwG1NR
One response to “Jelly Picnic Patchwork Quilt”
Hi, this is a comment.
To get started with moderating, editing, and deleting comments, please visit the Comments screen in the dashboard.
Commenter avatars come from Gravatar.